How to set up Google Analytics on your website
Account, property, data stream, one tag in the head - the whole install is about fifteen minutes. The exact steps, how to check it's actually collecting, and the five settings worth changing before you close the tab.
What you're actually setting up
Google Analytics 4 organizes everything in three layers: an account (your business), a property (one set of reports), and a data stream (one source feeding it - your website). For a normal site you'll create one of each, once. The whole job is: create those three things, put Google's tag on your site, confirm data flows, and adjust a handful of defaults. Fifteen minutes if the tag install is a paste, a little longer if you've never touched your site's HTML.
Step 1: create the account and property
Go to analytics.google.com, sign in with a Google account, and click Start measuring. The wizard walks through an account name (your business), a property name (your site's name works), time zone and currency, and a few business-category questions that don't affect anything important. Time zone deserves two seconds of thought - it defines when your reporting day rolls over, and changing it later makes daily comparisons wobble around the switch.
Step 2: add a web data stream
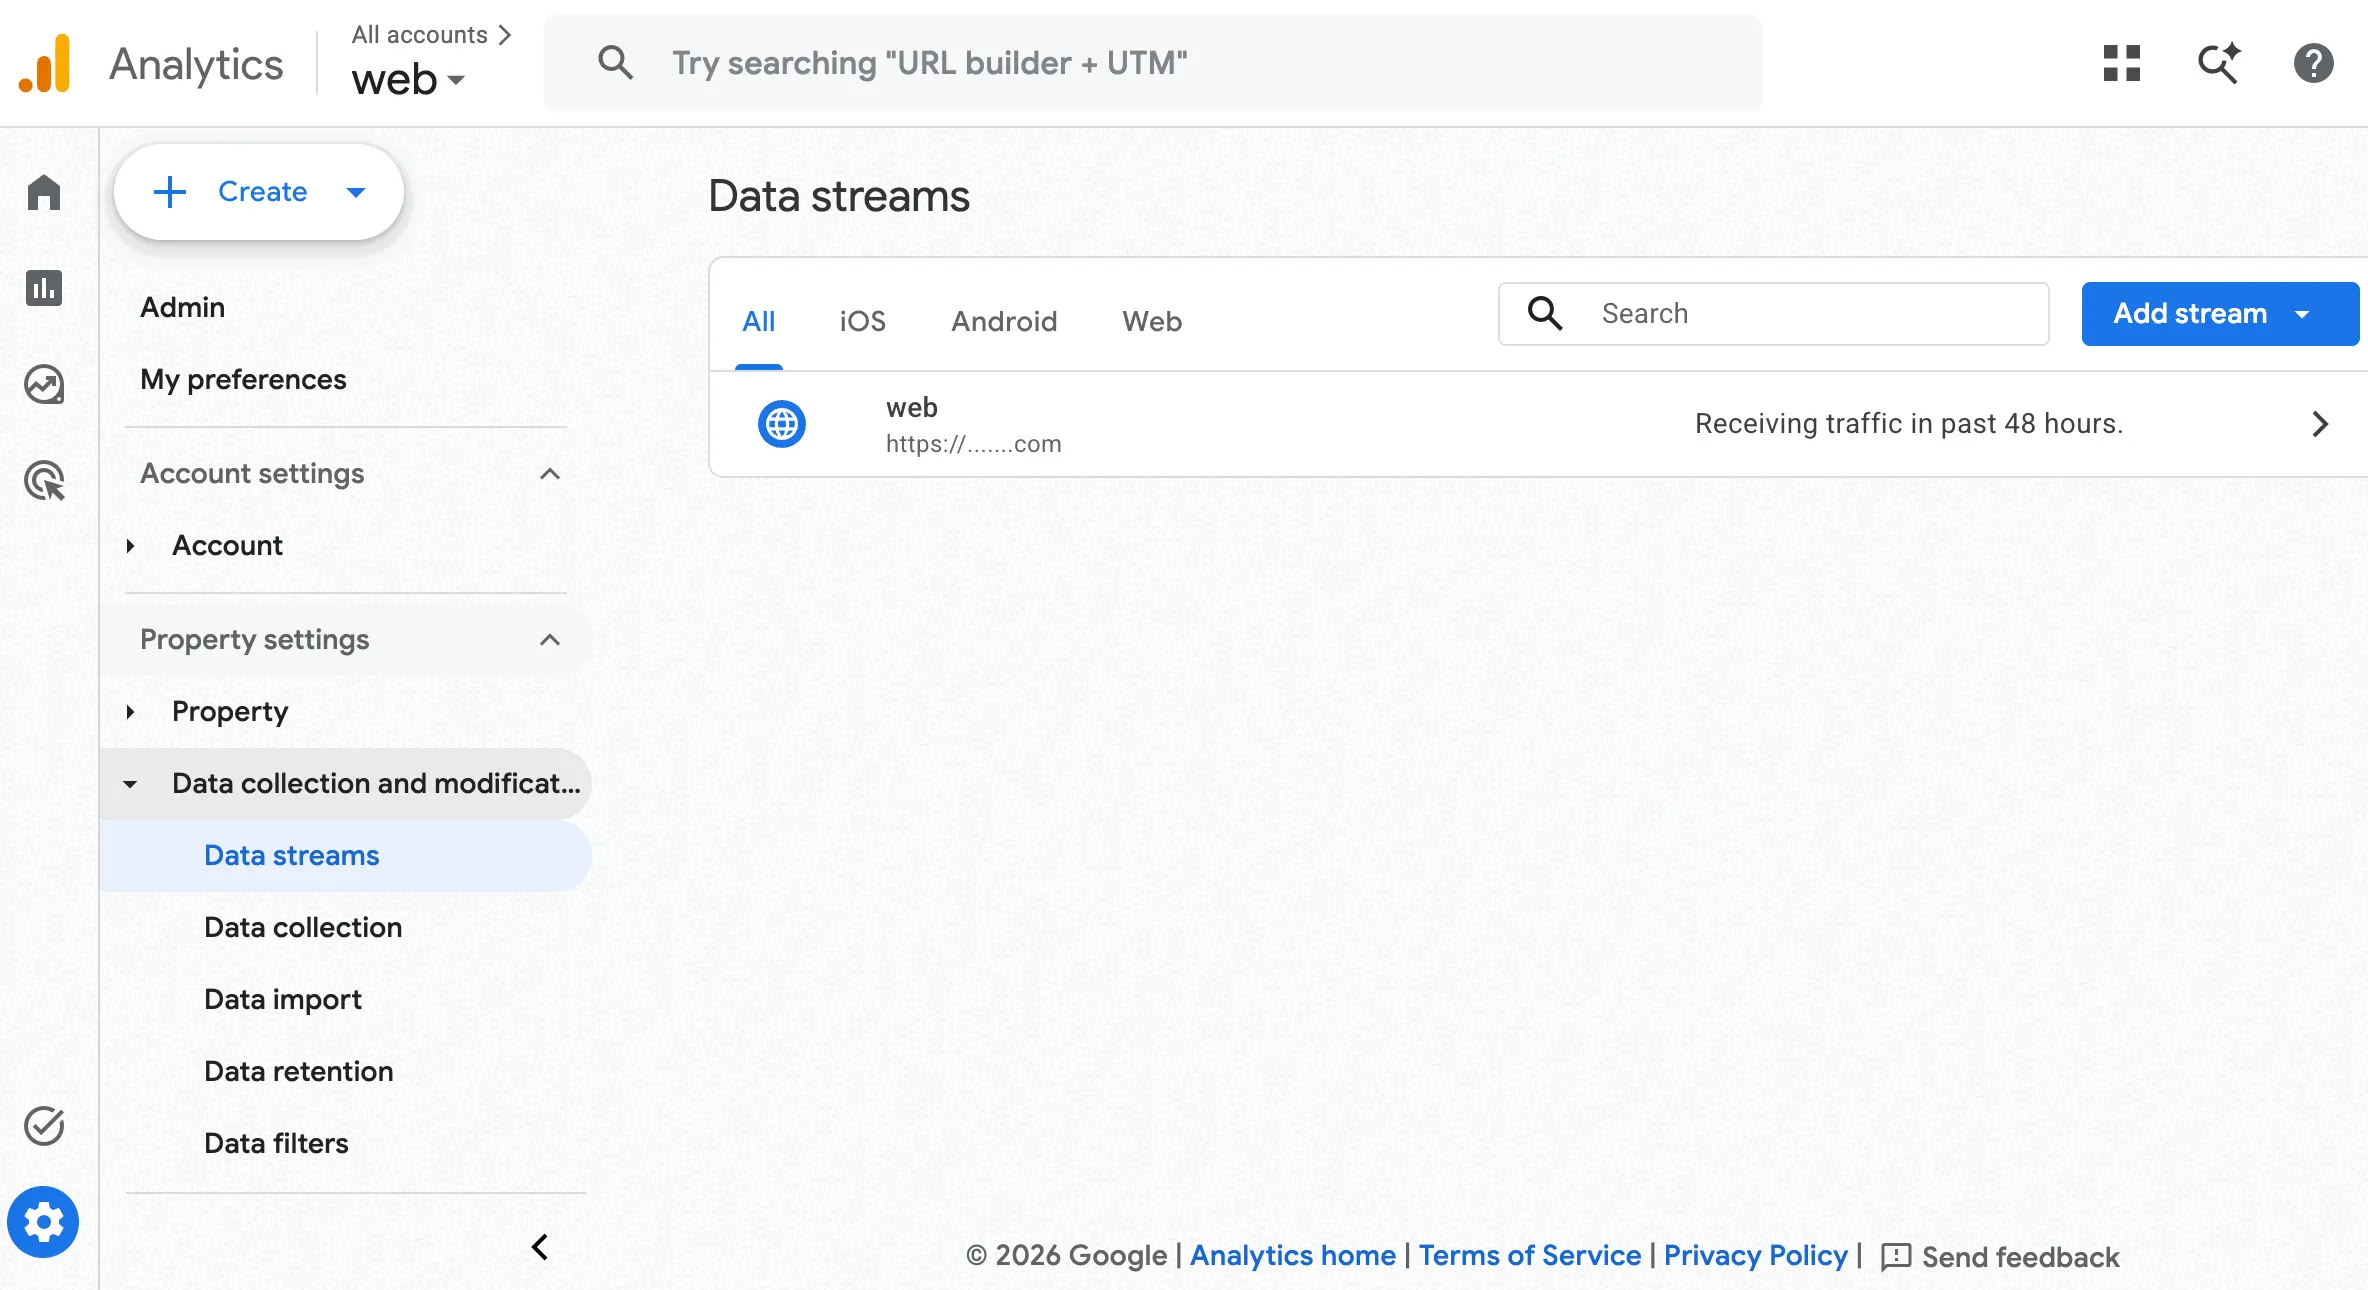
When the wizard asks about your platform, pick Web and enter your site's URL and a stream name. If you skipped that part, the same screen lives in Admin > Data collection and modification > Data streams > Add stream. The stream is the connection point between your site and the property - once it exists, GA4 is waiting for data and the row will eventually read "Receiving traffic in past 48 hours".
Step 3: install the tag
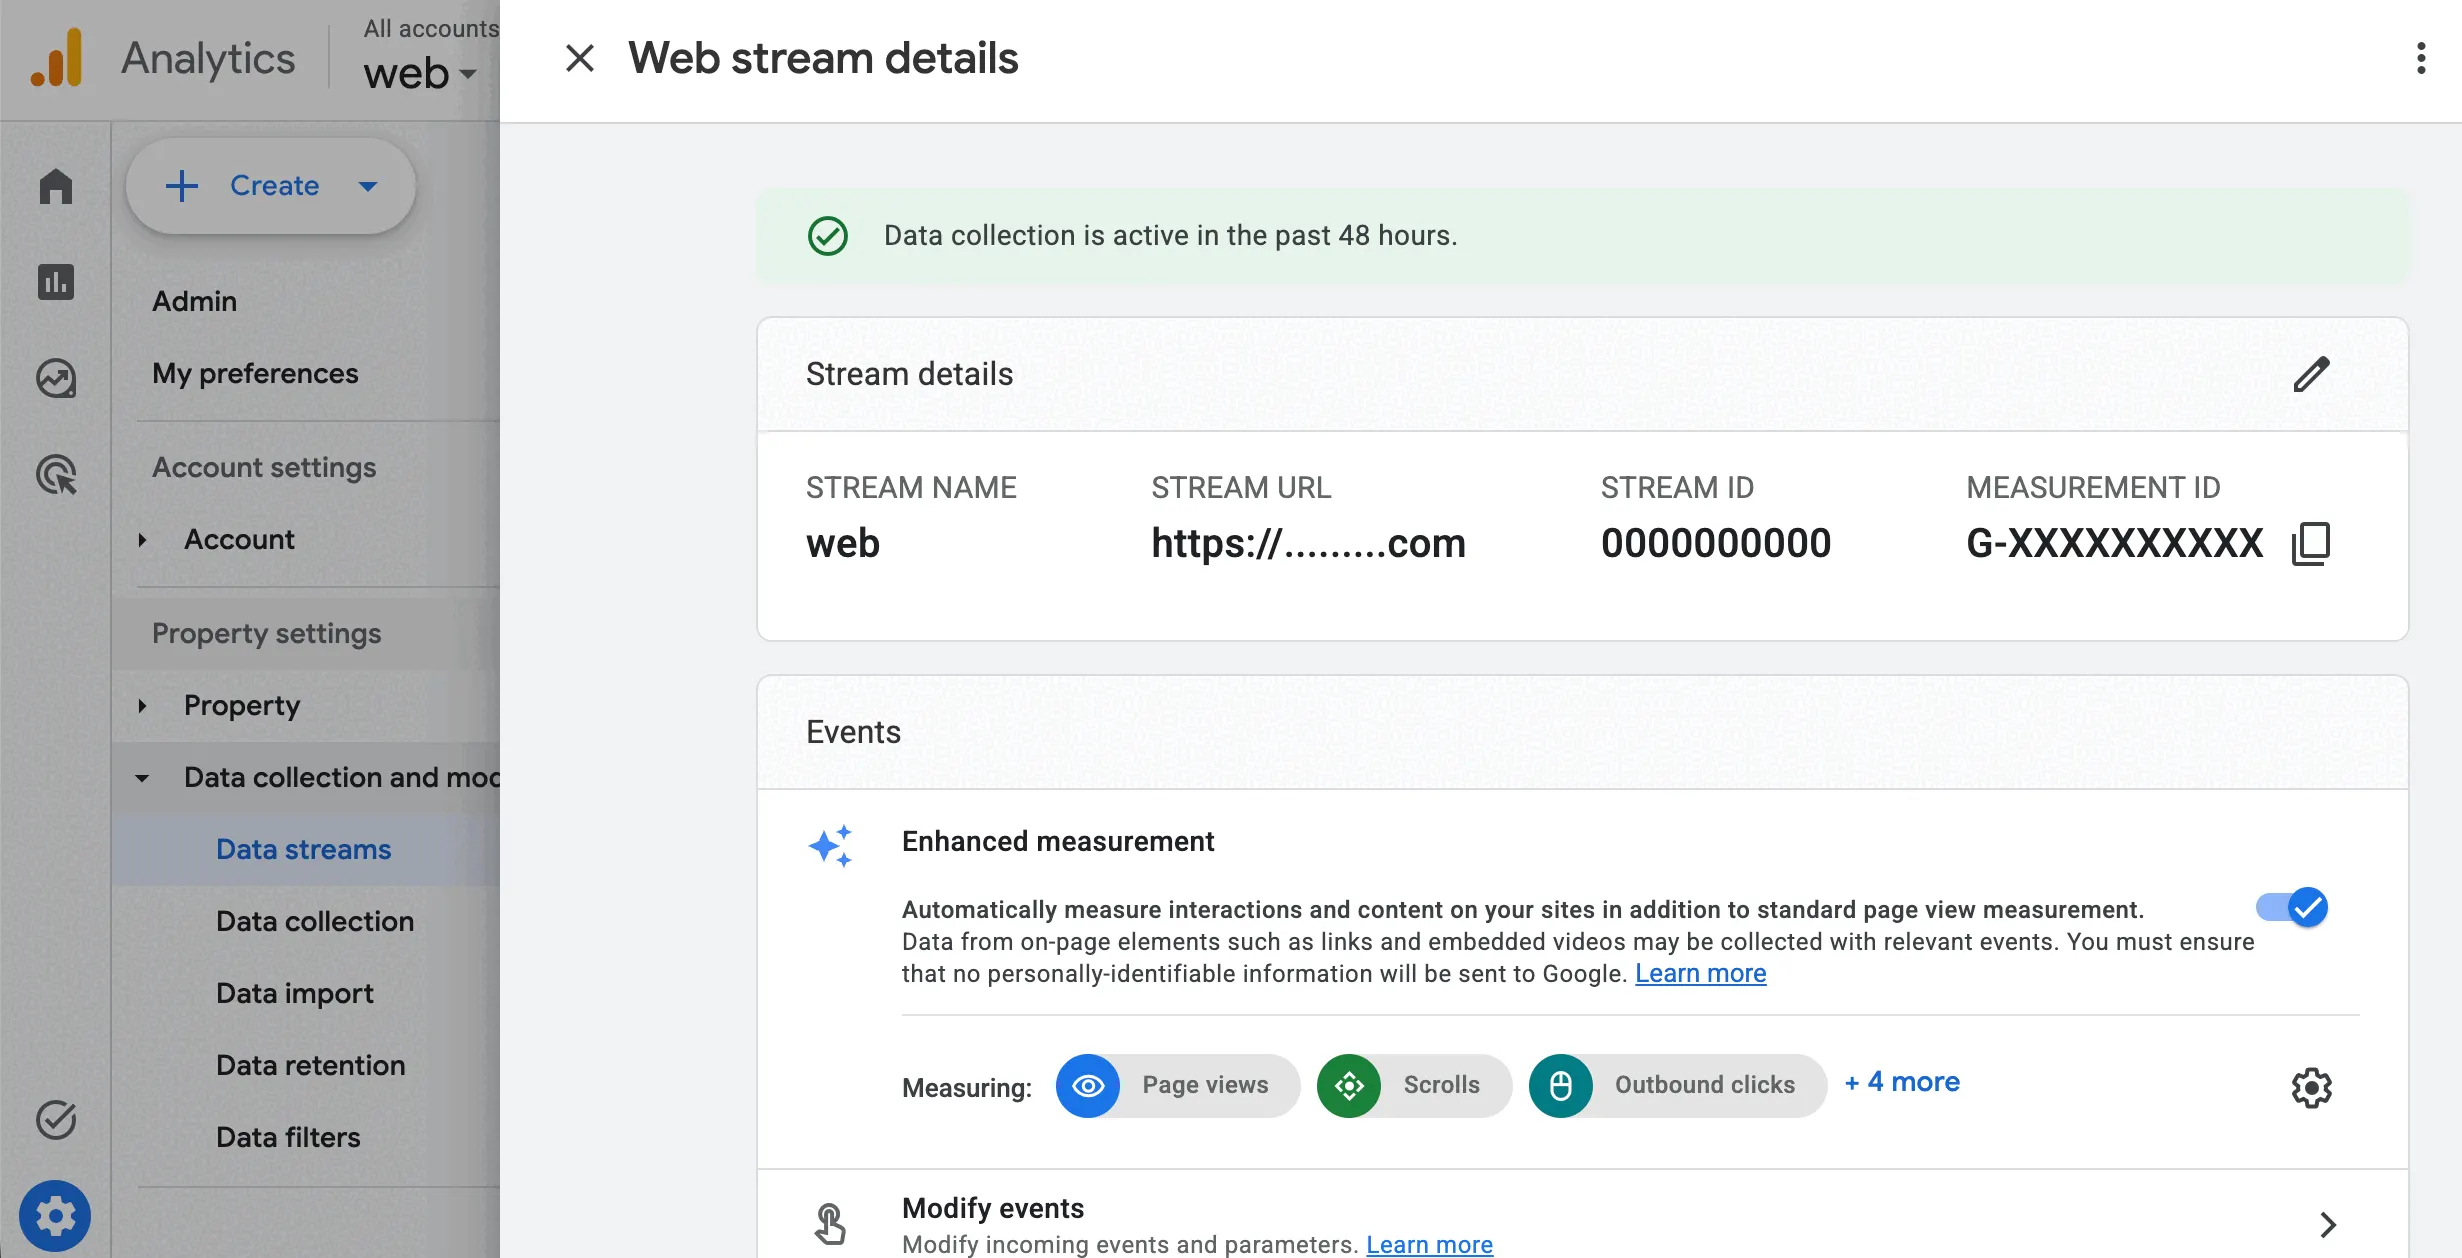
Open the stream and you'll see its Measurement ID - a code starting with G-. That ID is all most people need, because Google's supported route for the major builders is a paste: WordPress, Shopify, Wix, HubSpot and others have a Google Analytics field in their settings that takes the G- ID and handles the rest.
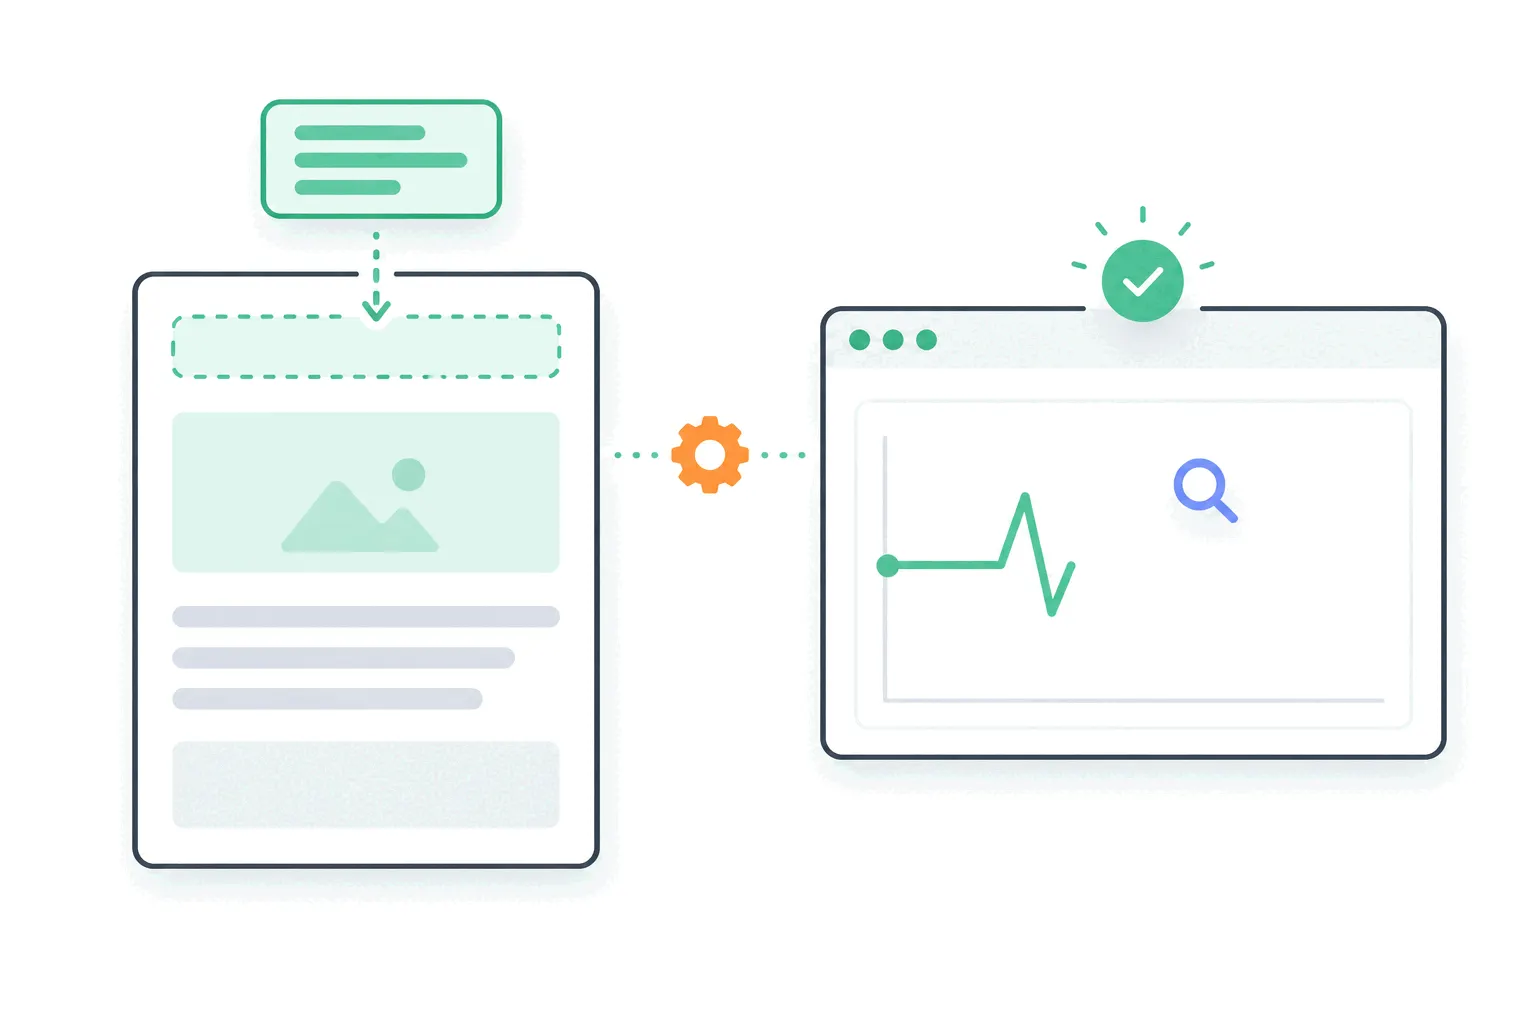
If your platform has no such field, use the manual route: in the stream details, View tag instructions > Install manually shows the Google tag - a short script block starting with the comment "Google tag (gtag.js)". Copy the whole block and paste it immediately after the opening head tag on every page (in practice: your site's shared header template). The third route, Google Tag Manager, wraps the same tag in a container you manage separately - the better path once multiple marketing scripts pile up, overkill for one analytics install.
Step 4: confirm it's collecting
Publish the change, then open your site in one browser tab and Reports > Realtime in another. Google says collection typically starts within about 30 minutes; in practice your own visit often shows in Realtime within a minute or two. Seeing yourself there settles it. The stream details page adds its own confirmation - a "Data collection is active" notice - and the standard reports fill in over the following day or two, since GA4 processes data with a lag even after Realtime works.
What's already tracked without any configuration
The web stream ships with Enhanced measurement on by default - the toggle sits right on the stream details screen. Beyond pageviews it automatically records scrolls (at 90% depth), outbound link clicks, site search, video engagement, file downloads and form interactions. Worth knowing before you build anything custom: for a content site, most of what you'd want to track after launch is already in there.
Five defaults worth changing on day one
The first two protect data quality, the third makes reports mean something, and the last two are free upgrades most setups never claim.
None of these are mandatory; all of them are cheaper now than later, because analytics settings only apply forward:
- Data retention: Admin > Data settings > Data retention. Raise event-level retention from the 2-month default to 14 months, or your Explorations lose history you'll want next year.
- Internal traffic: define your own IPs (Admin > Data streams > Configure tag settings > Define internal traffic), then activate the exclusion under Data filters - otherwise you and your team are your most loyal visitors.
- Key events: mark the actions that matter (a signup, a purchase, a contact-form send) as key events, or the conversion side of every report stays empty.
- Search Console link: Admin > Product links > Search Console Links, if you're a verified owner of the Search Console property - it adds the queries-and-landing-pages reports GA4 can't see on its own.
- Google Signals: decide deliberately whether to enable it - it powers the demographics reports but adds consent obligations.
The cookie banner question
GA4 sets cookies, and depending on your visitors' jurisdictions that can mean a consent banner before the tag fires - EU traffic being the clear case. Google's consent mode exists to adjust collection to the visitor's choice, and every declined consent is a visitor your reports won't see. This guide can't be legal advice; the honest summary is that the tag install is the easy half, and the consent setup deserves real attention if Europe is a meaningful share of your audience - the cookieless post covers the landscape.
The practical takeaway
Create account, property and web stream, paste the Measurement ID into your builder (or the tag into your head template), watch yourself appear in Realtime, then spend five minutes on retention, internal traffic, key events and the Search Console link. From there the challenge stops being setup and starts being finding your way around the reports. And if this whole page felt like more ceremony than a visitor count deserves, that's a fair reaction - lighter tools install with the same single snippet and skip the rest of it.